How much dipper creep is acceptable
Every ram creeps slightly: the oil cools and contracts, and a small amount of oil passes the seals. The manual gives the maximum permitted rod movement over 10 minutes according to the pressure in the ram (pages E-151, E-152). For the dipper rams:
| Cylinder × rod, mm | At 69 bar | At 138 bar | At 207 bar |
|---|---|---|---|
| 100 × 60 | 10 mm | 34 mm | 70 mm |
| 110 × 65 | 8 mm | 28 mm | 57 mm |
Intermediate values are taken from a graph: plot a line through the three points for your ram and read off the permitted movement for the gauge pressure. The test does not apply to rams fitted with hose burst protection valves.
Test 1: is the creep above the limit?
- Bring the hydraulic oil up to its normal working temperature of 50 °C, checking it with a temperature probe.
- Fit a pressure gauge on a tee piece in the hose that is pressurised when the ram is supporting the load.
- Operate the rams several times so that they are full of hot oil.
- Load the ram: position the backhoe so that the dipper is held by this ram.
- Measure the rod movement over 10 minutes — pin to pin, or from a felt tip mark 150 mm from the end cap — and compare it with the table (page E-149).
Test 2: ram or control valve?
Take the load off the ram, blank off the supporting port with the pressure gauge, and disconnect the hose from the opposite port, leaving it open. Then load the ram again. If the rod keeps moving after the initial movement, the ram is at fault: the piston seal is leaking. If the rod stays still although the dipper was creeping on the machine, the fault is in the control valve (page E-150).
To tell spool leakage from a faulty ARV, temporarily replace the service ARV with a blanking plug (25/609901 with seal kit 25/610301) and repeat Test 1. If the creep has gone, the ARV is at fault. Sometimes it only needs cleaning and resealing. If there is dirt in the valve, the manual recommends draining and cleaning the hydraulic tank and refilling with new oil and a new filter. A worn ARV is replaced. The dipper ARV settings are 248–255 bar on machines up to serial number 964124 and 262–269 bar from 964125 (page E-24).
Removing the dipper ram
- Park the machine on level ground, lower the backhoe and the loader to the ground and stop the engine.
- Vent the residual pressure by moving the excavator control levers several times. If the ram has a hose burst protection valve, the pressure will not vent this way — slacken the connections by one turn and wait.
- Label and disconnect the hoses, and cap the open ports.
- Support the ram with slings, remove the pivot pin retaining nut and bolt, drive out the pin and lift the ram away (page E-272).
Key points for the repair
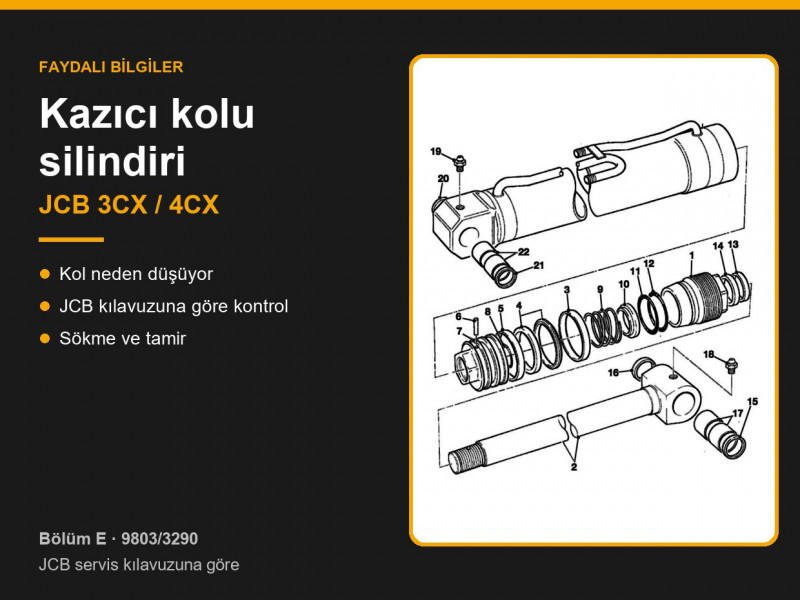
- Strip the ram only when it is off the machine, on a bench. The end cap is unscrewed with a special spanner. If the piston is pushed out with air or oil, the end cap must still be screwed on, otherwise the rod can fly out.
- Most leaks are caused by a damaged rod: scores, chips and corrosion soon cut the seals. Inspect the rod and the cylinder bore, and replace a damaged end cap and bush as an assembly.
- Clean and degrease the threads and apply high strength threadlocker with activator. Tighten the end cap to the torque in the table (678 Nm for item 1). Do not fill the ram with oil until at least 2 hours after assembly (page E-284).
- Fit the rod seals with the special tool, folding them into a “kidney” shape. Turn the piston wear rings so that they cover the piston retaining pin (pages E-288, E-289).
- After installation, run the ram several times through its full stroke with no load to expel the air: under sudden load the air heats up as it is compressed and can burn the seals (page E-257).
Parts for the 3CX dipper ram
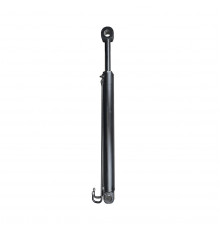
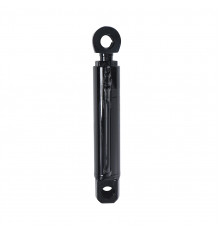
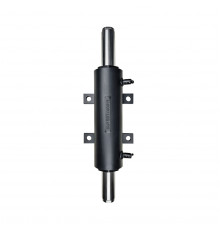
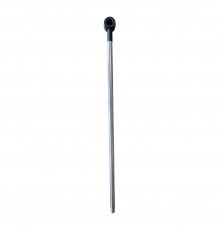
Complete dipper rams for the 3CX: 559/60229, 559/60230, 559/60163, 559/60172; for the 4CX: 561/60178. 3CX dipper ram rod: 590/40583, 590/40599; ram nut: 594/14025. All rams and their parts are in the JCB hydraulic rams section, seals in the hydraulic seal kits section. The ram version depends on the machine build and the dipper type (standard or extending), so to choose parts and consumables, send us the machine model, year of manufacture and serial number. How to tell a worn ram from leakage past the spool or the ARV is explained in our article on cylinder drift on the JCB 3CX/4CX.
Parts enquiries